Mechanical keyboards have always fascinated me. A few weeks ago, with some spare time on my hands, I decided to embark on a project to build my own keyboard from scratch using materials I had lying around and my 3D printer. Considering a full keyboard might be too ambitious for a starter project, I opted for something smaller: a numpad, the perfect complement to my 65% keyboard.
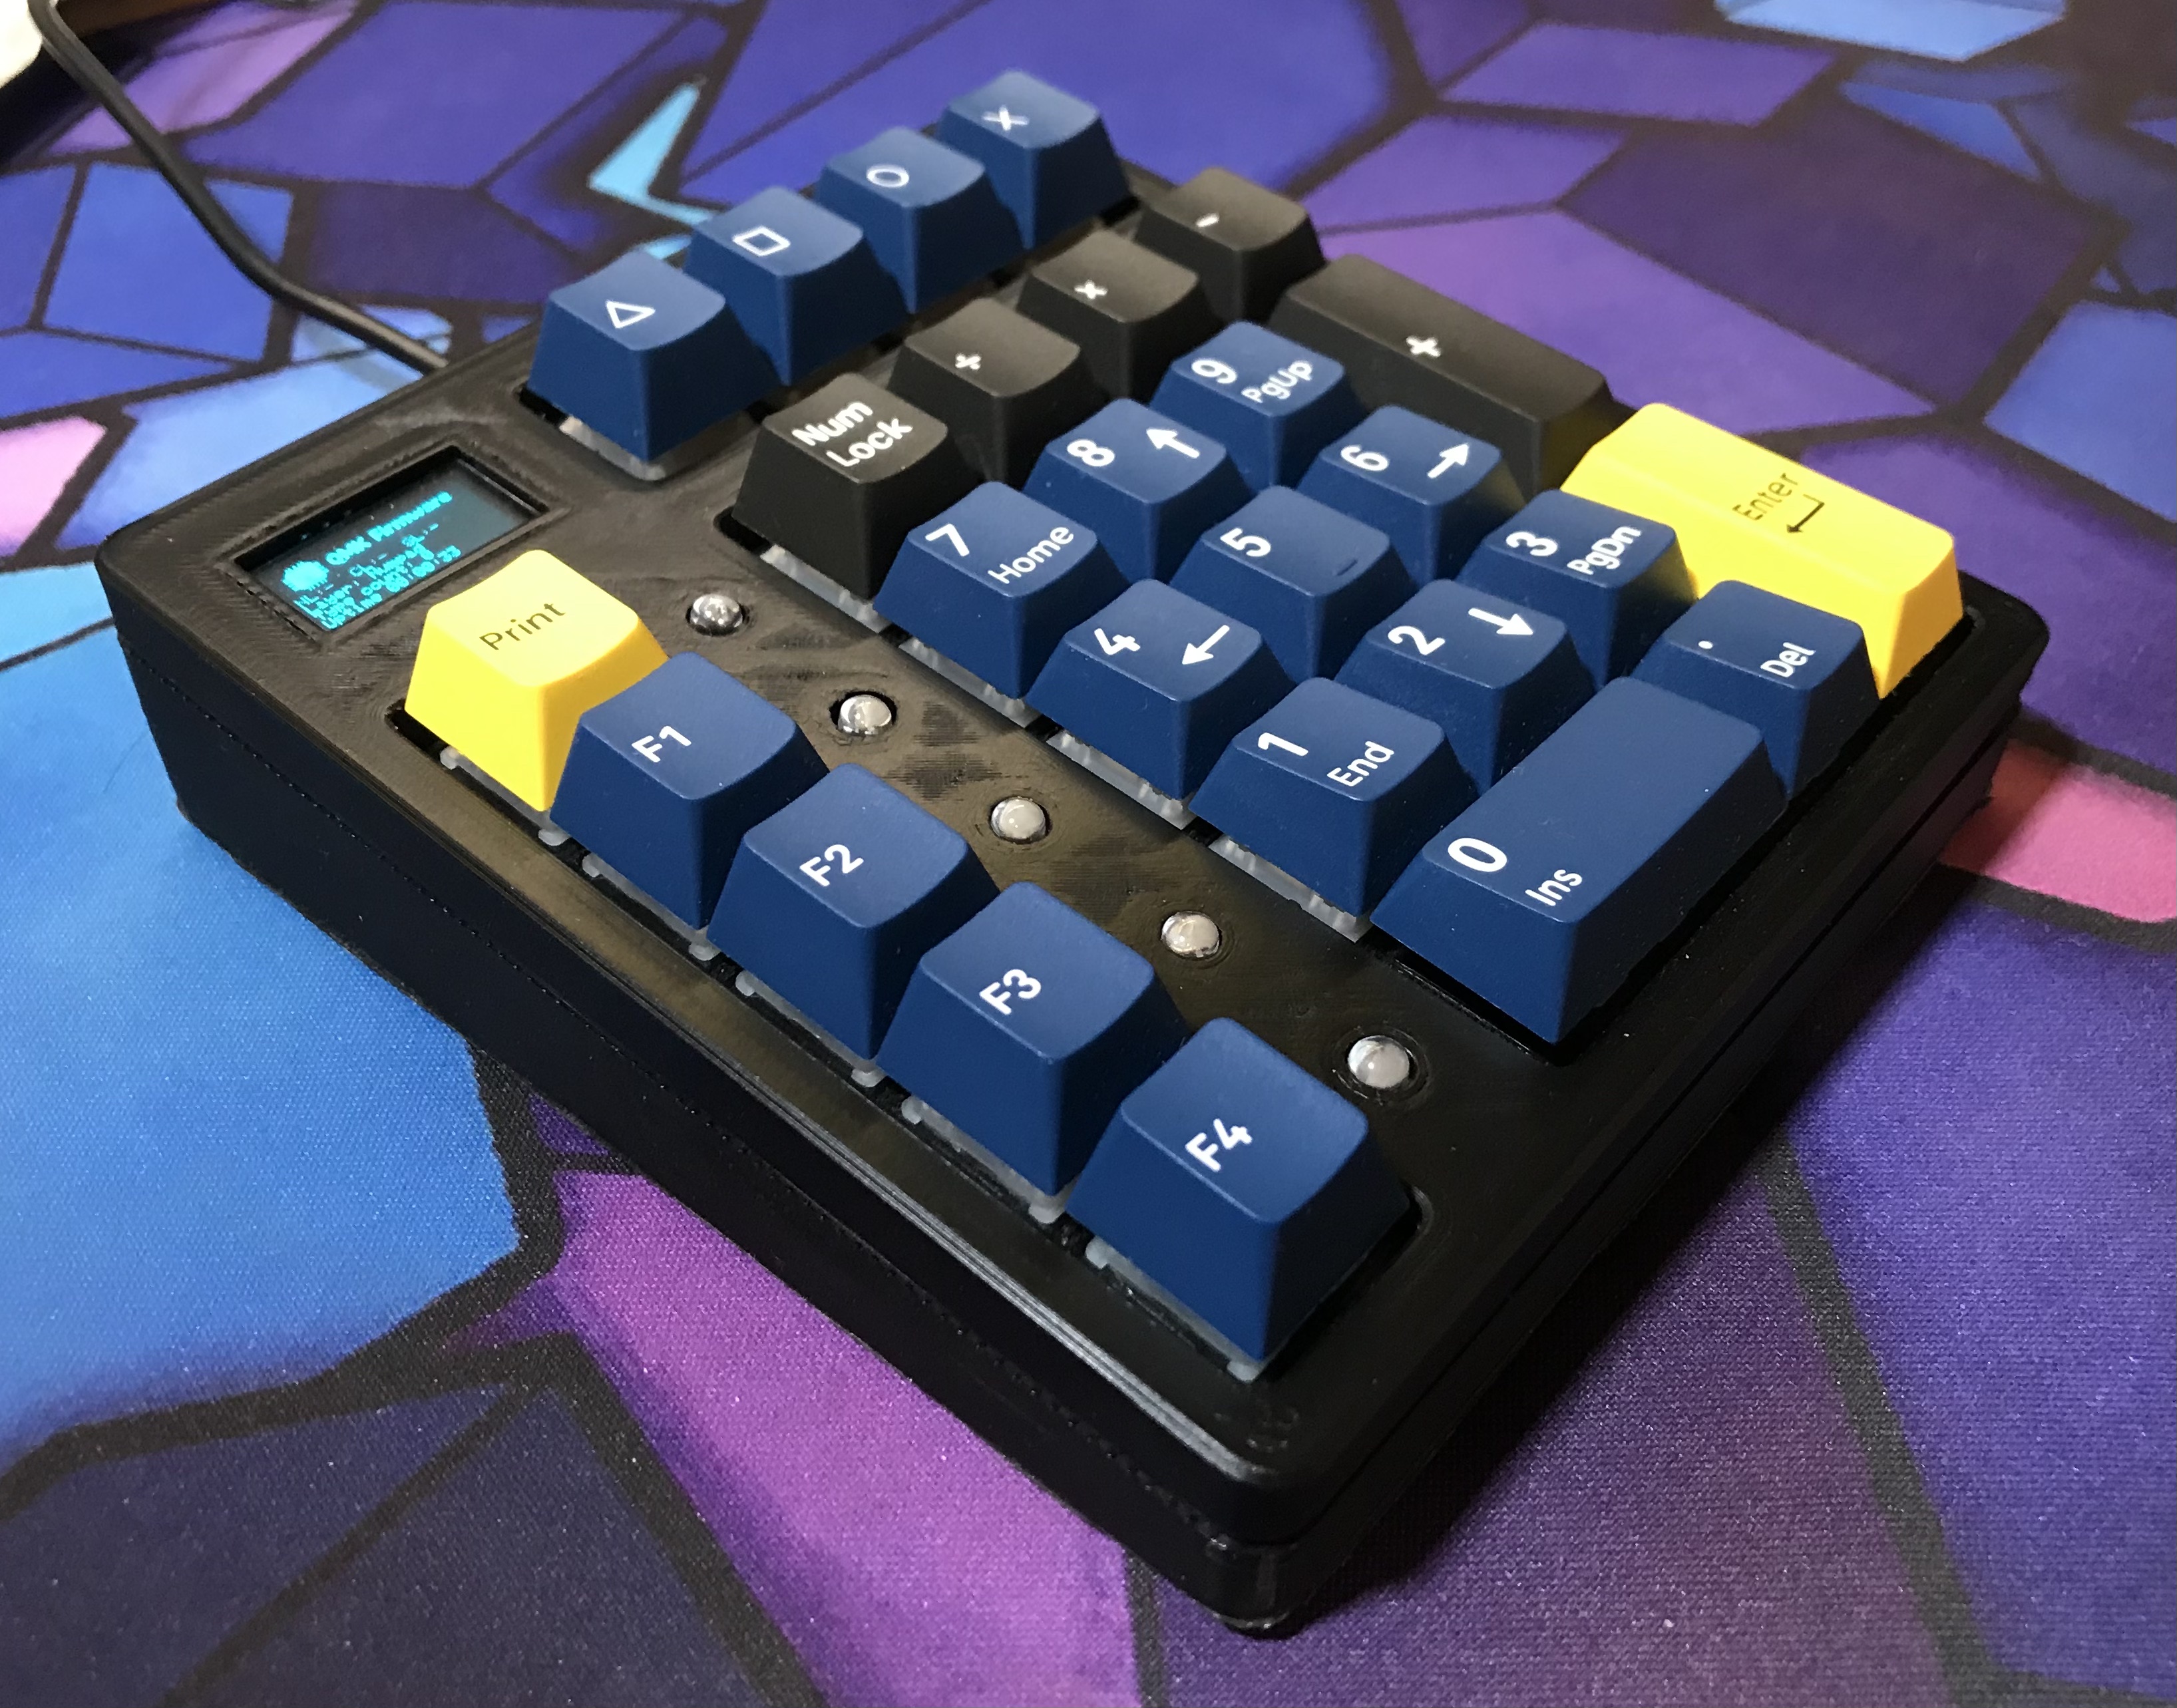
The end result are 2 numpad, yhea could stop with one ;) One numpad with a function row and RGB underglow. And a bigger numpad wit 2 function rows and a OLED display.
rgb numpad oled numpad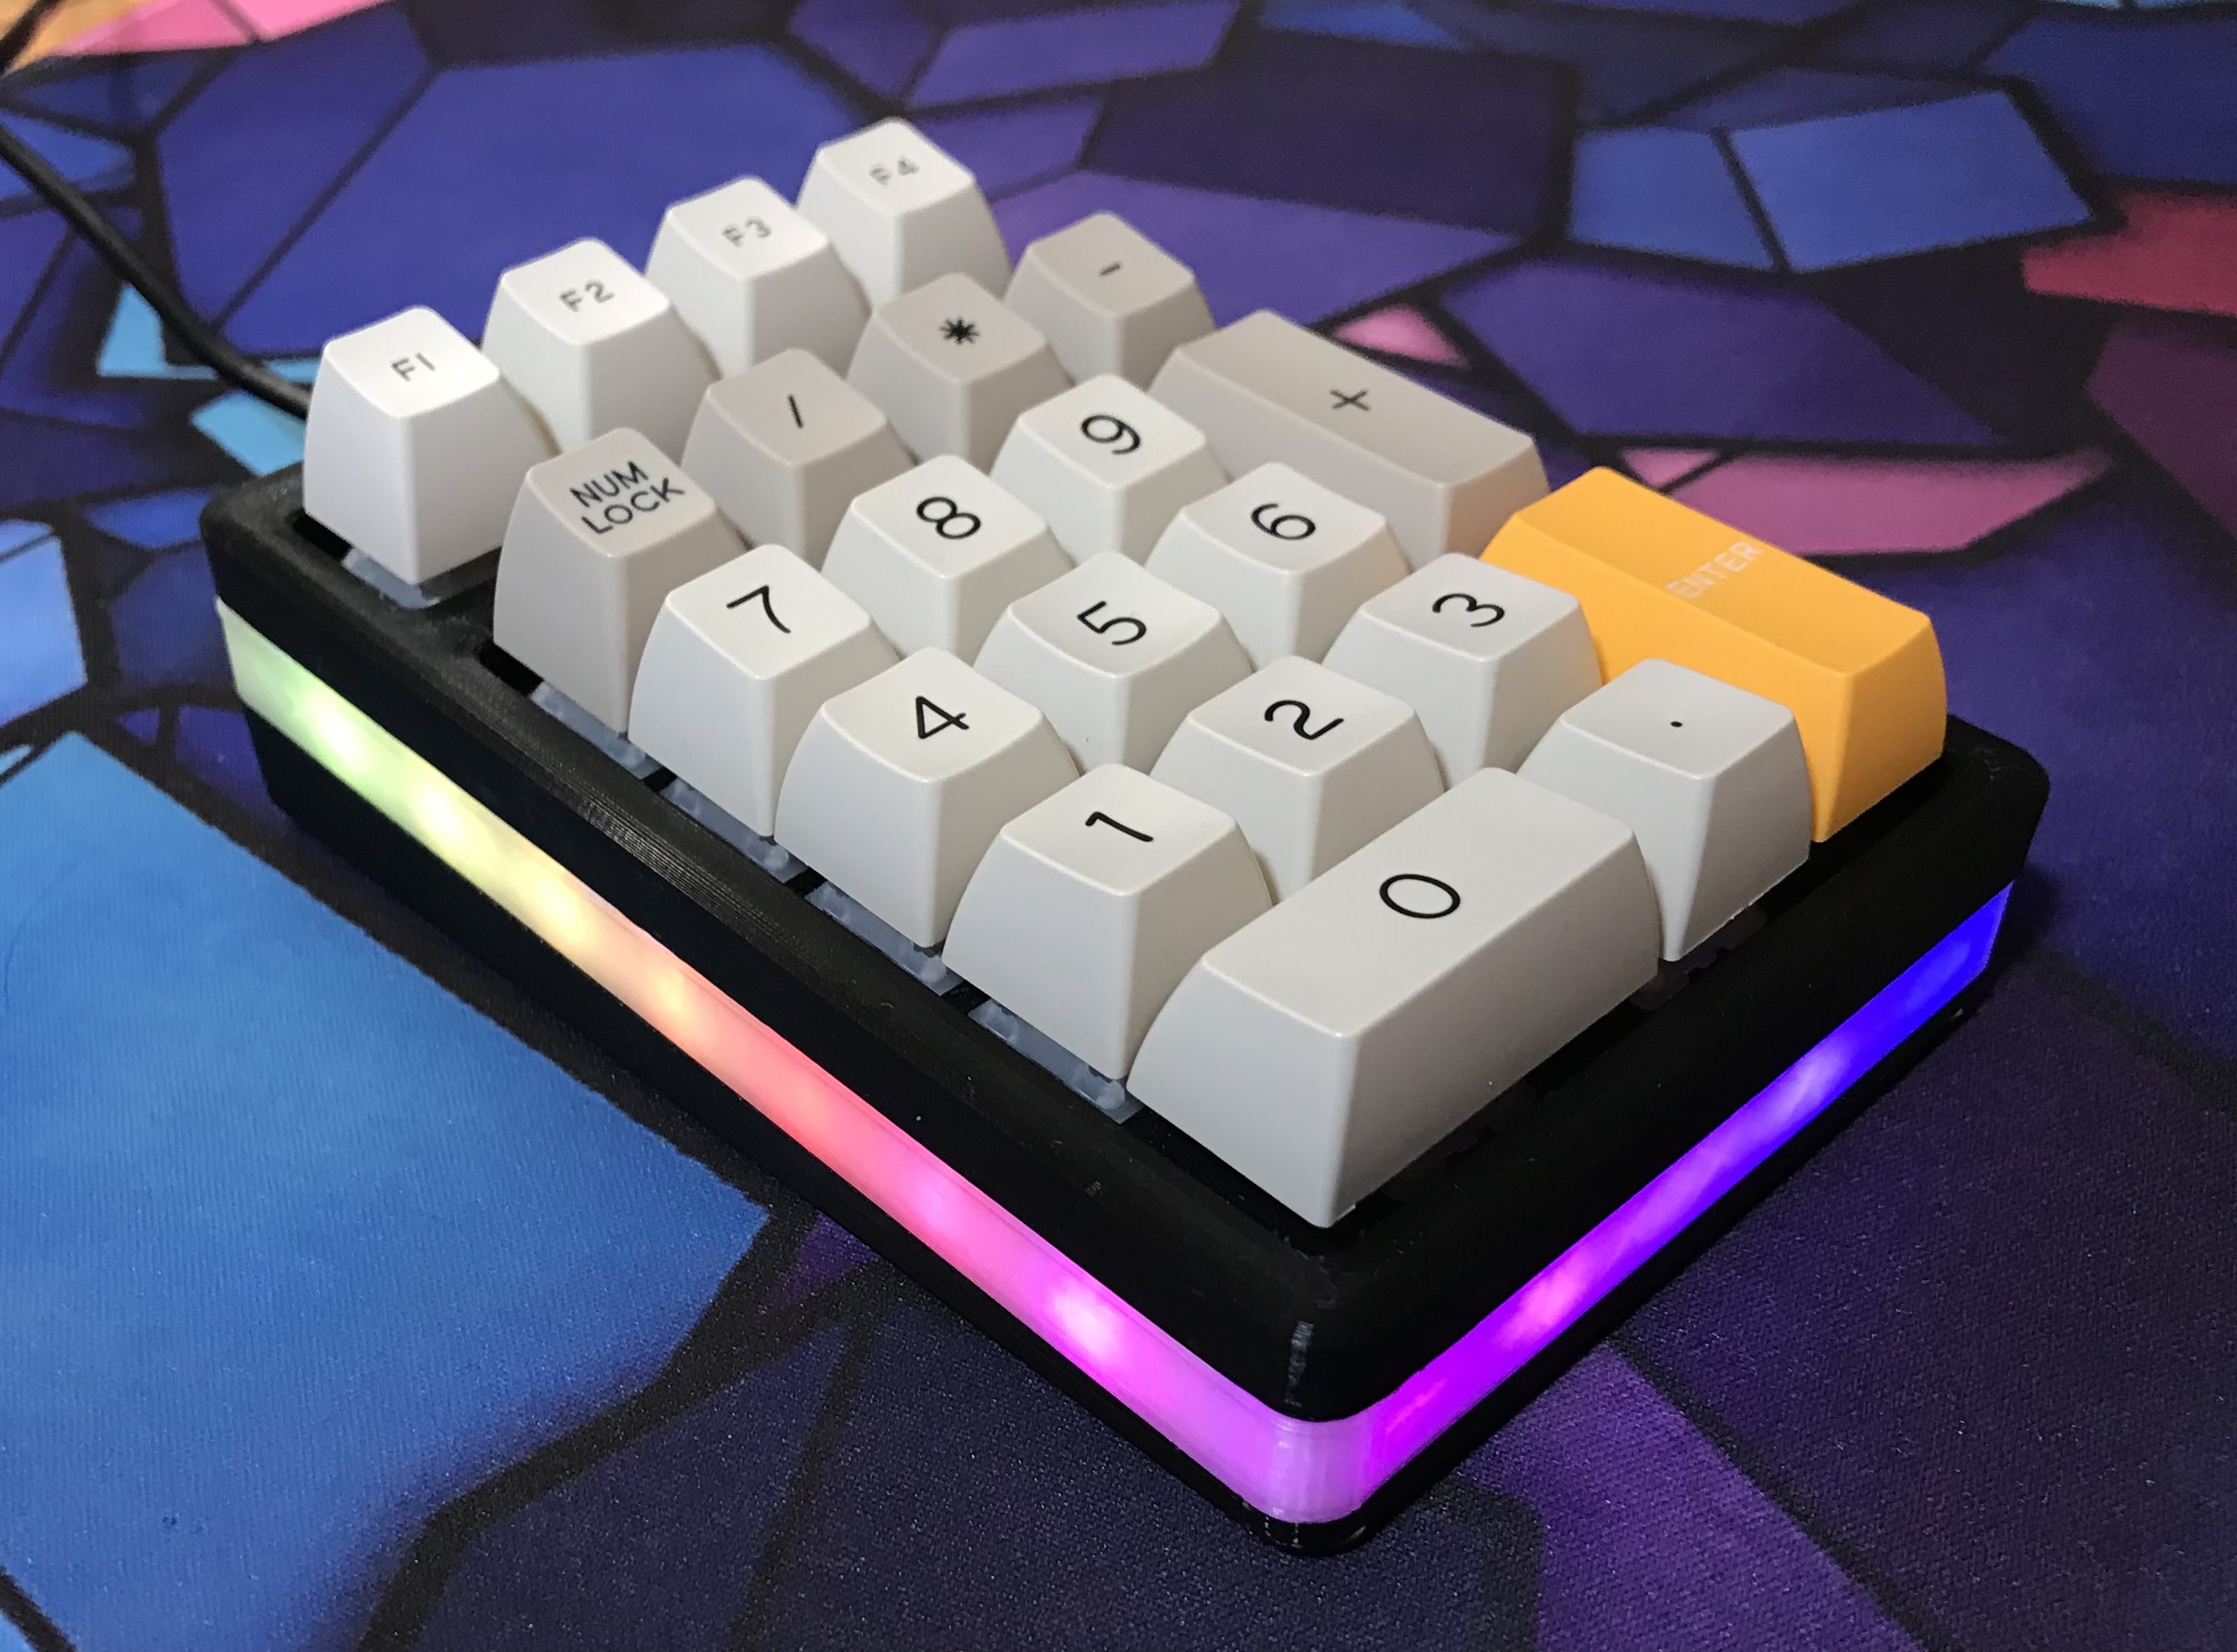
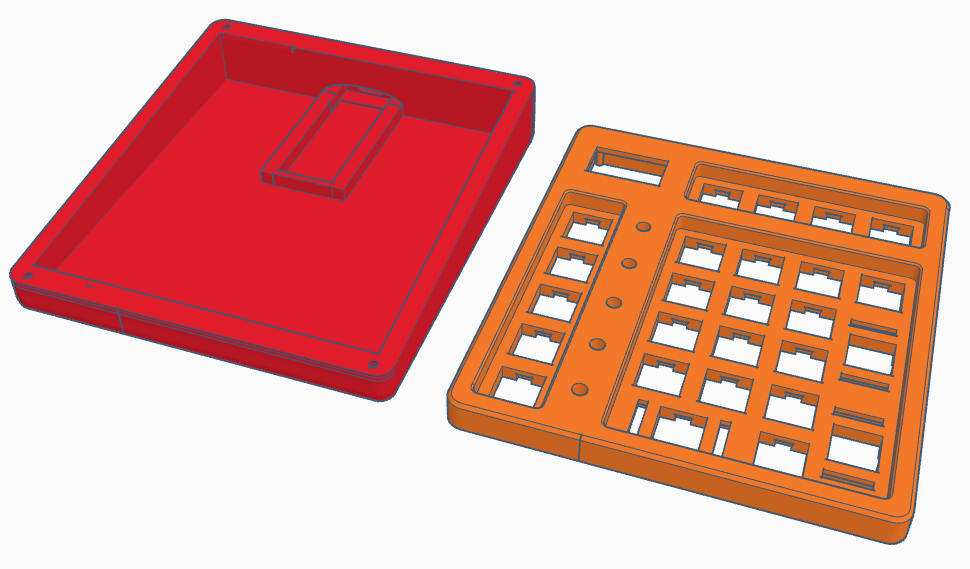
3D design
My design process began with searching for existing 3D designs. I found a suitable one on Tinkercad by FedorSosin and modified the top plate to accommodate function rows and a slot for an OLED display. The base part was a new design made to fit a Raspberry Pi Pico clone. For the RGB model, I added an extra layer printed with transparent PLA, which I then glued to the top plate.
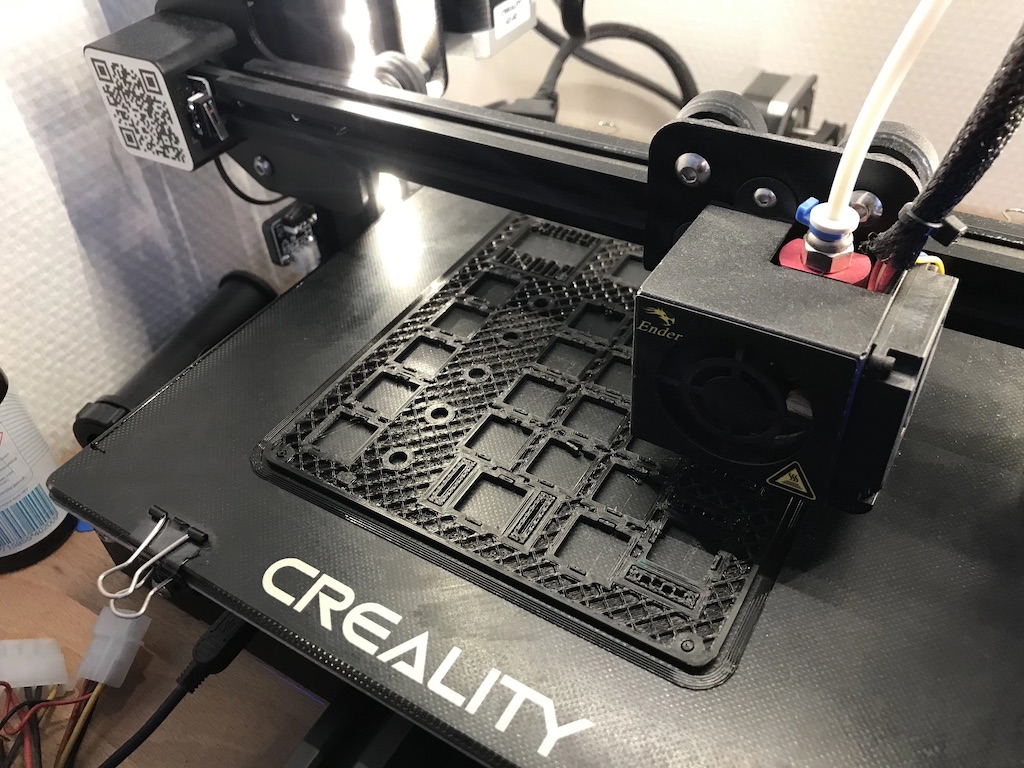
3d design RGB 3d design OLED 3D printing in action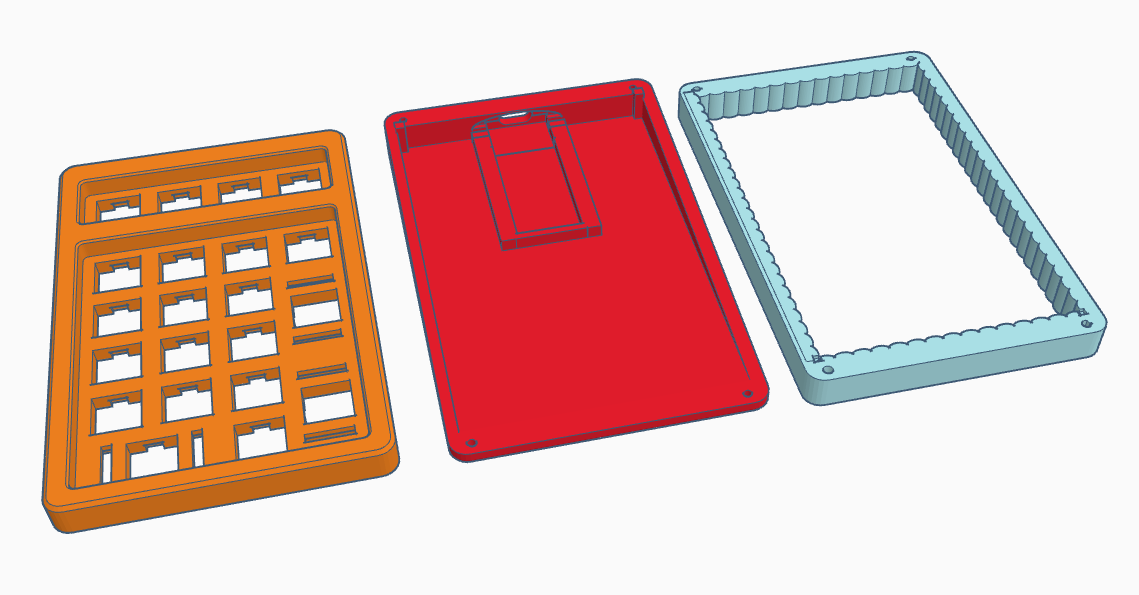
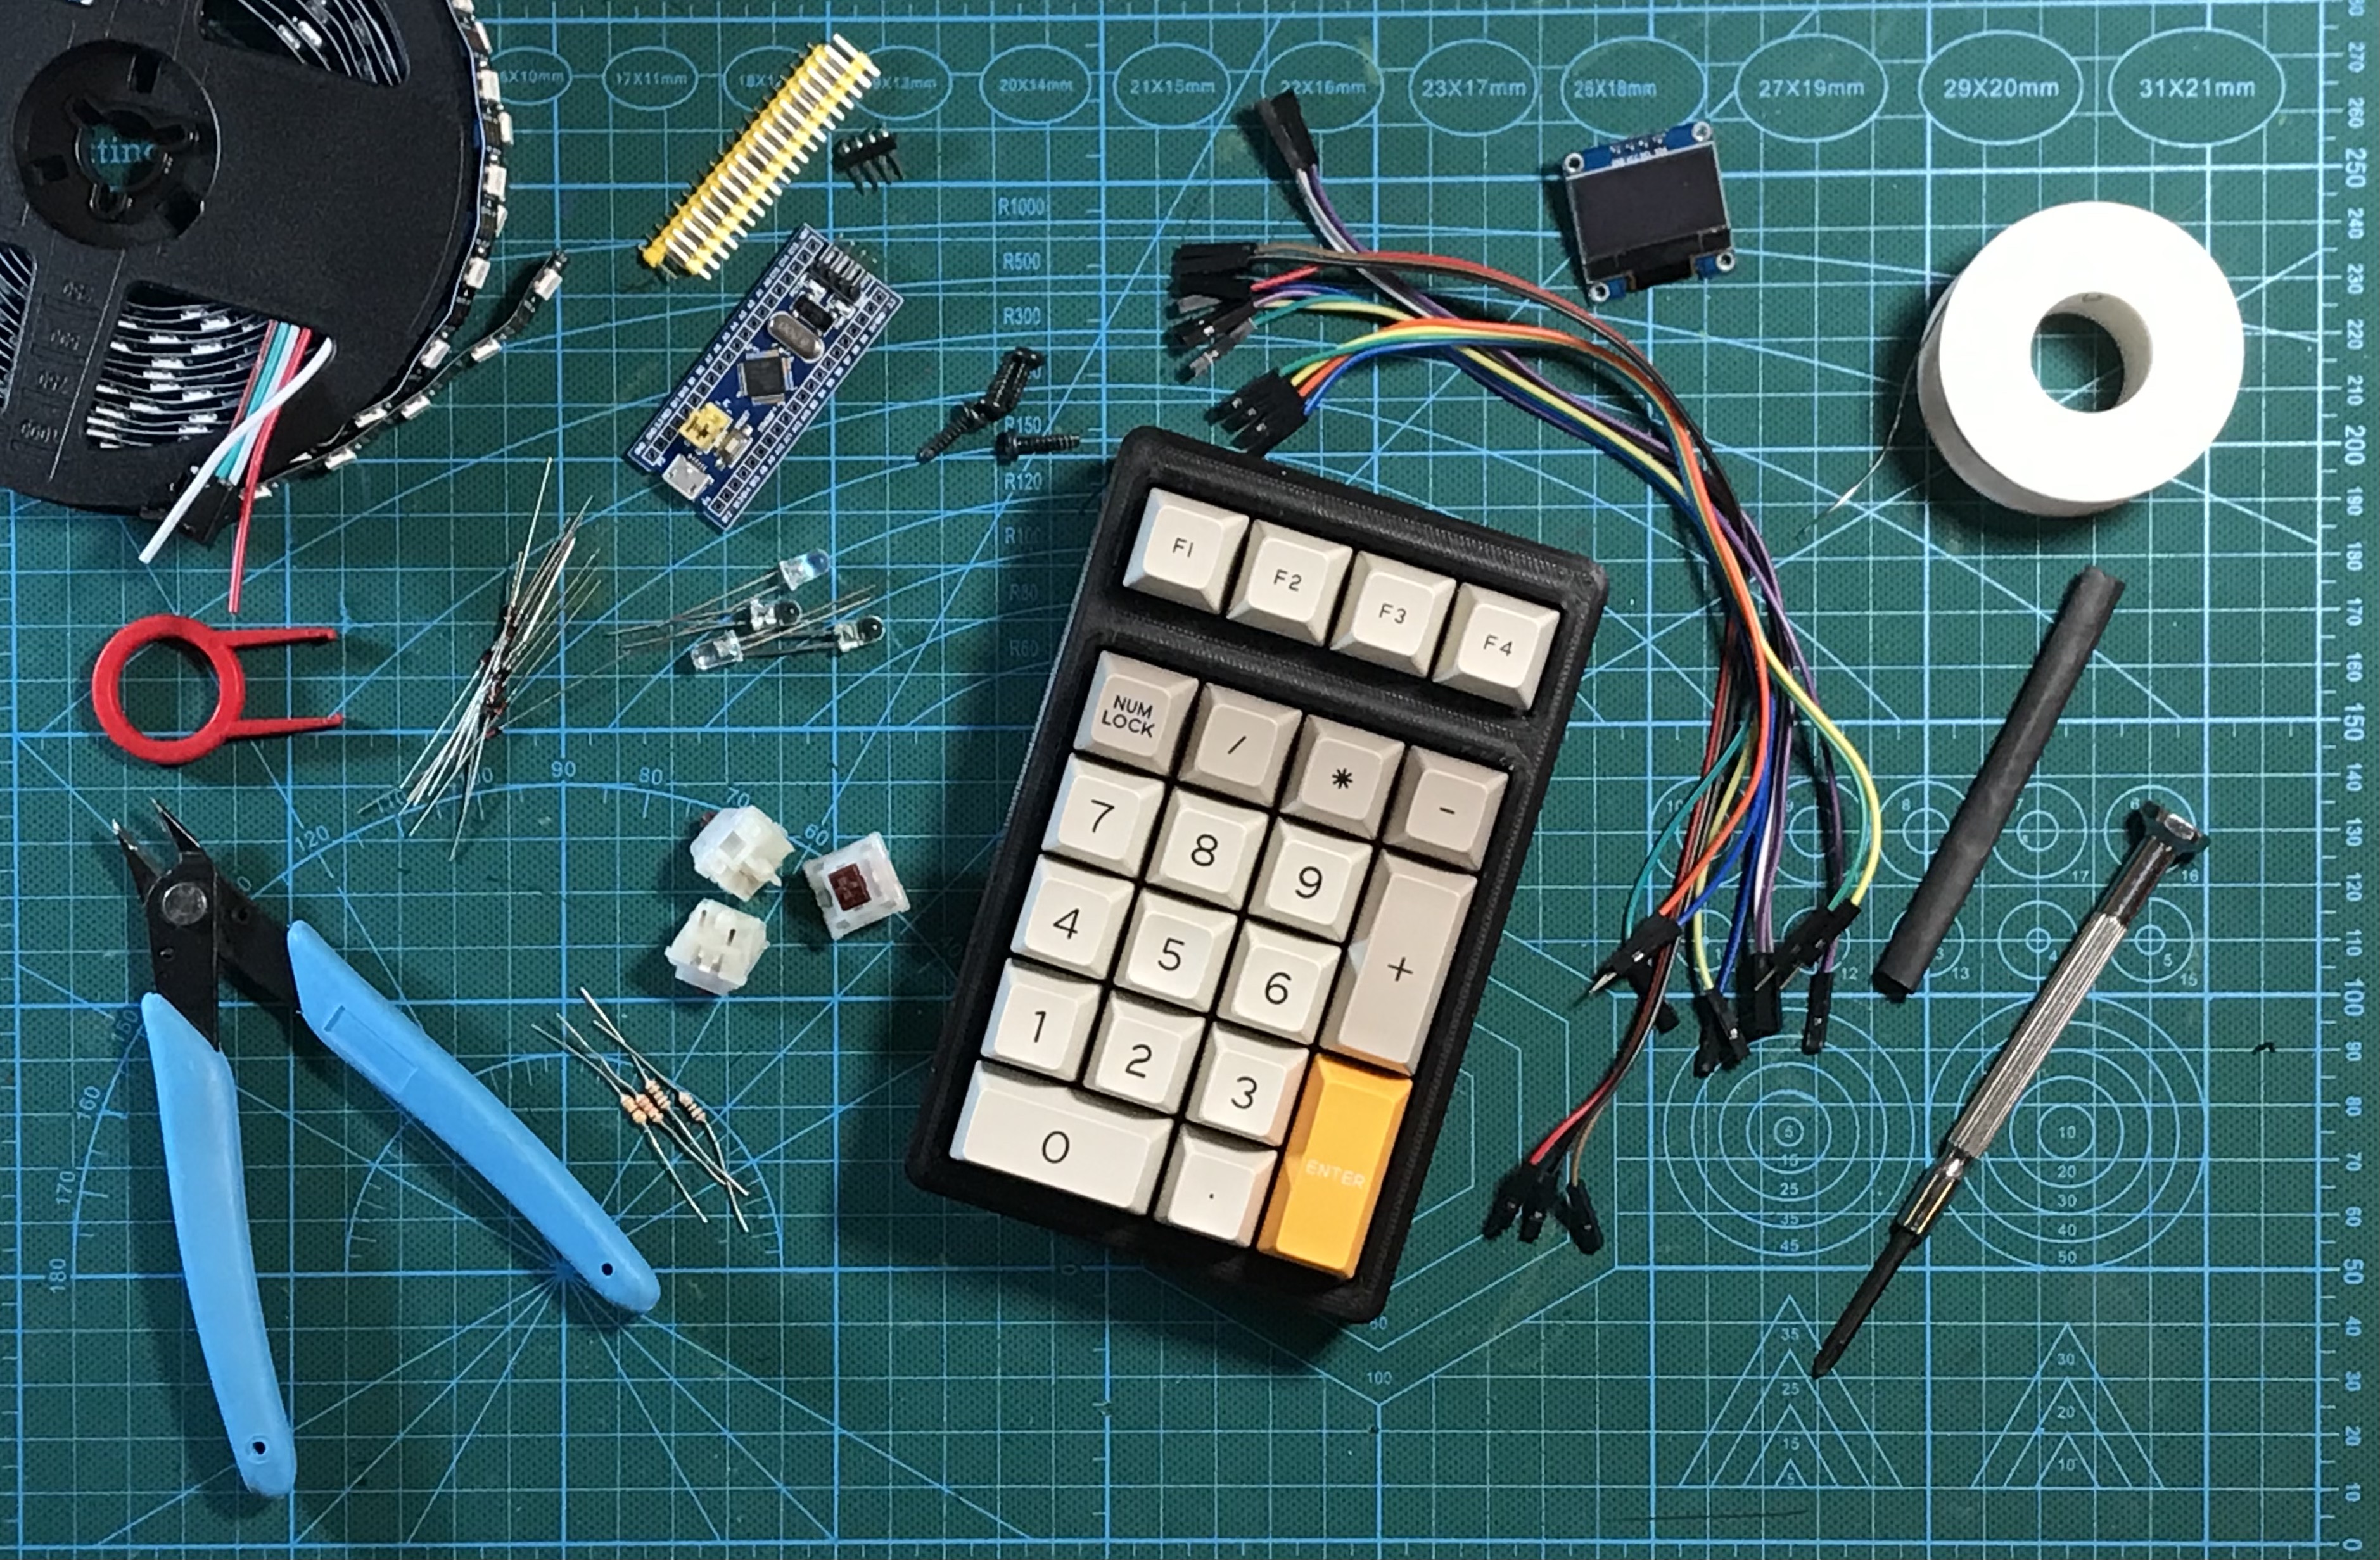
Components
Here’s a BOM (Bill of Materials) for the numpads, using components I already had:
- Gateron brown switches
- RP2040 (Pico Pi clone with USB-C)
- 0.96 inch OLED Display 128*x64
- WS2812 RGB LED strip
- PLA black and transparent (for RGB galore)
- Diodes 1n4148
- 5mm LED’s
- 470 Ohm resistors for the LED’s
- Heat shrink tubing
- Miscellaneous wiring
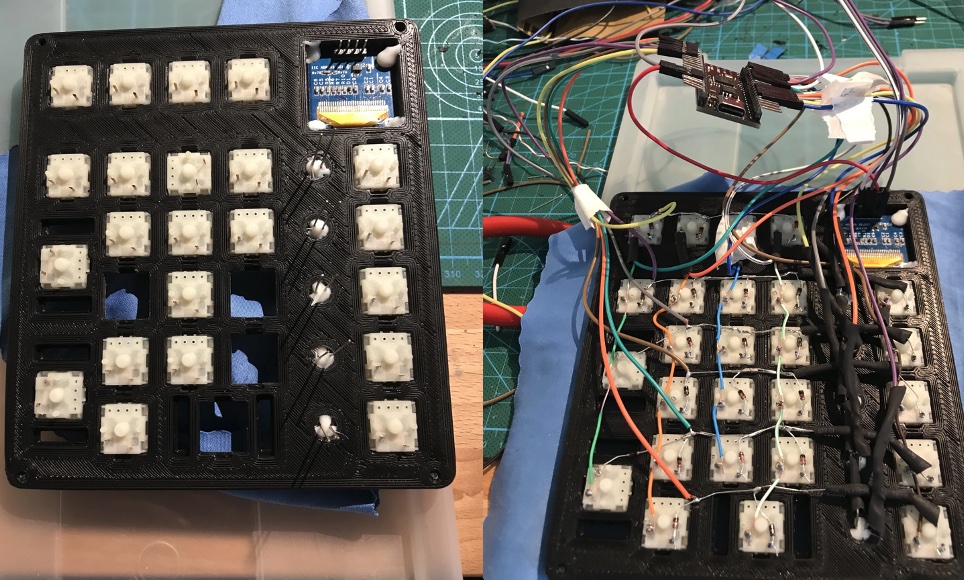
Handwiring
I handwired the switches. While not the neatest soldering job, it works perfectly fine for a prototype. Handwiring might seem daunting at first, but it becomes straightforward once you get the hang of it.
Wiring OLED
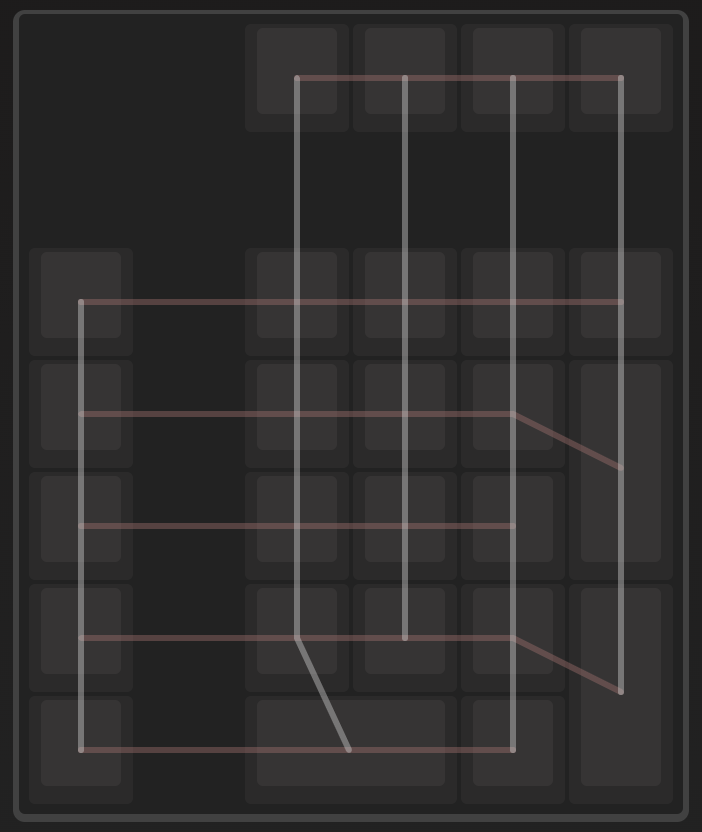
Wiring Diagram
QMK Firmware
The RP2040 is now supported by QMK firmware. While KMK is an option, I couldn’t get the OLED display to work with it, so I opted for QMK with VIA support.
You can find the QMK files on my Github page.
The keypad supports multiple layers, functioning also as a mouse, for navigation, and macros. The OLED display provides information about lock status and the active layer.
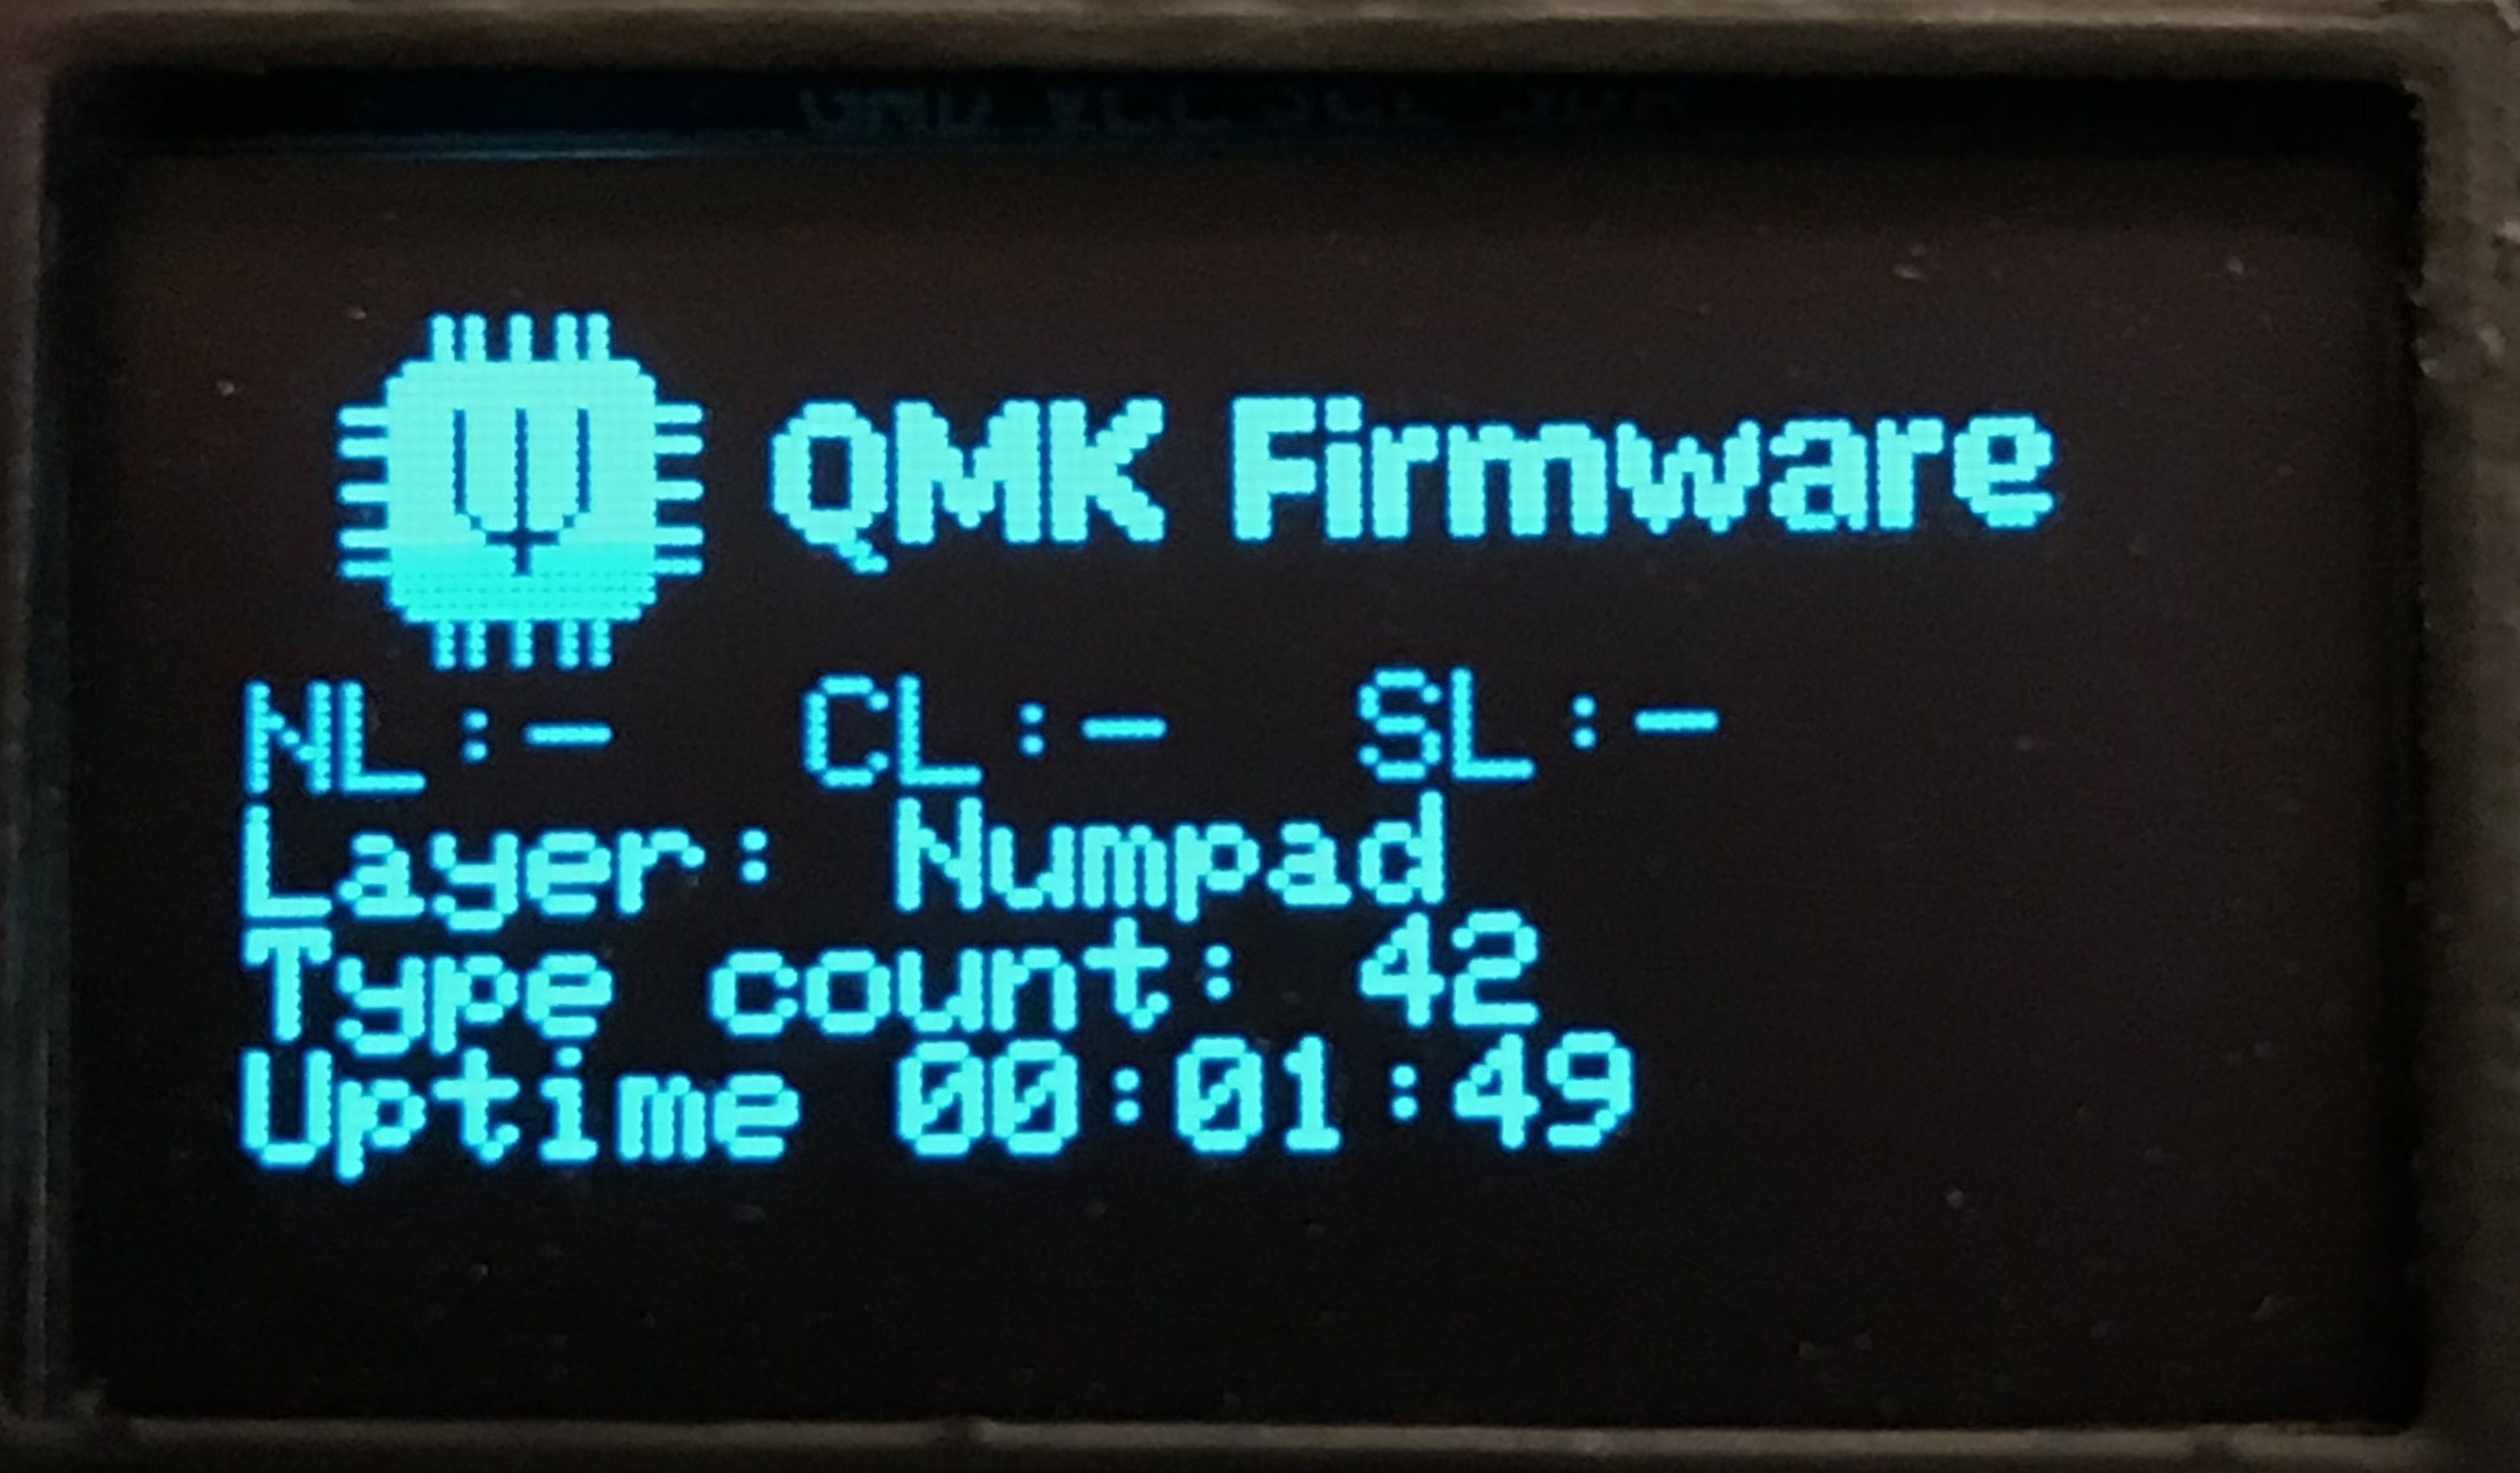
OLED Display
Desktop
now have the perfect companion for my 65% keyboard, enhancing my desktop setup significantly.
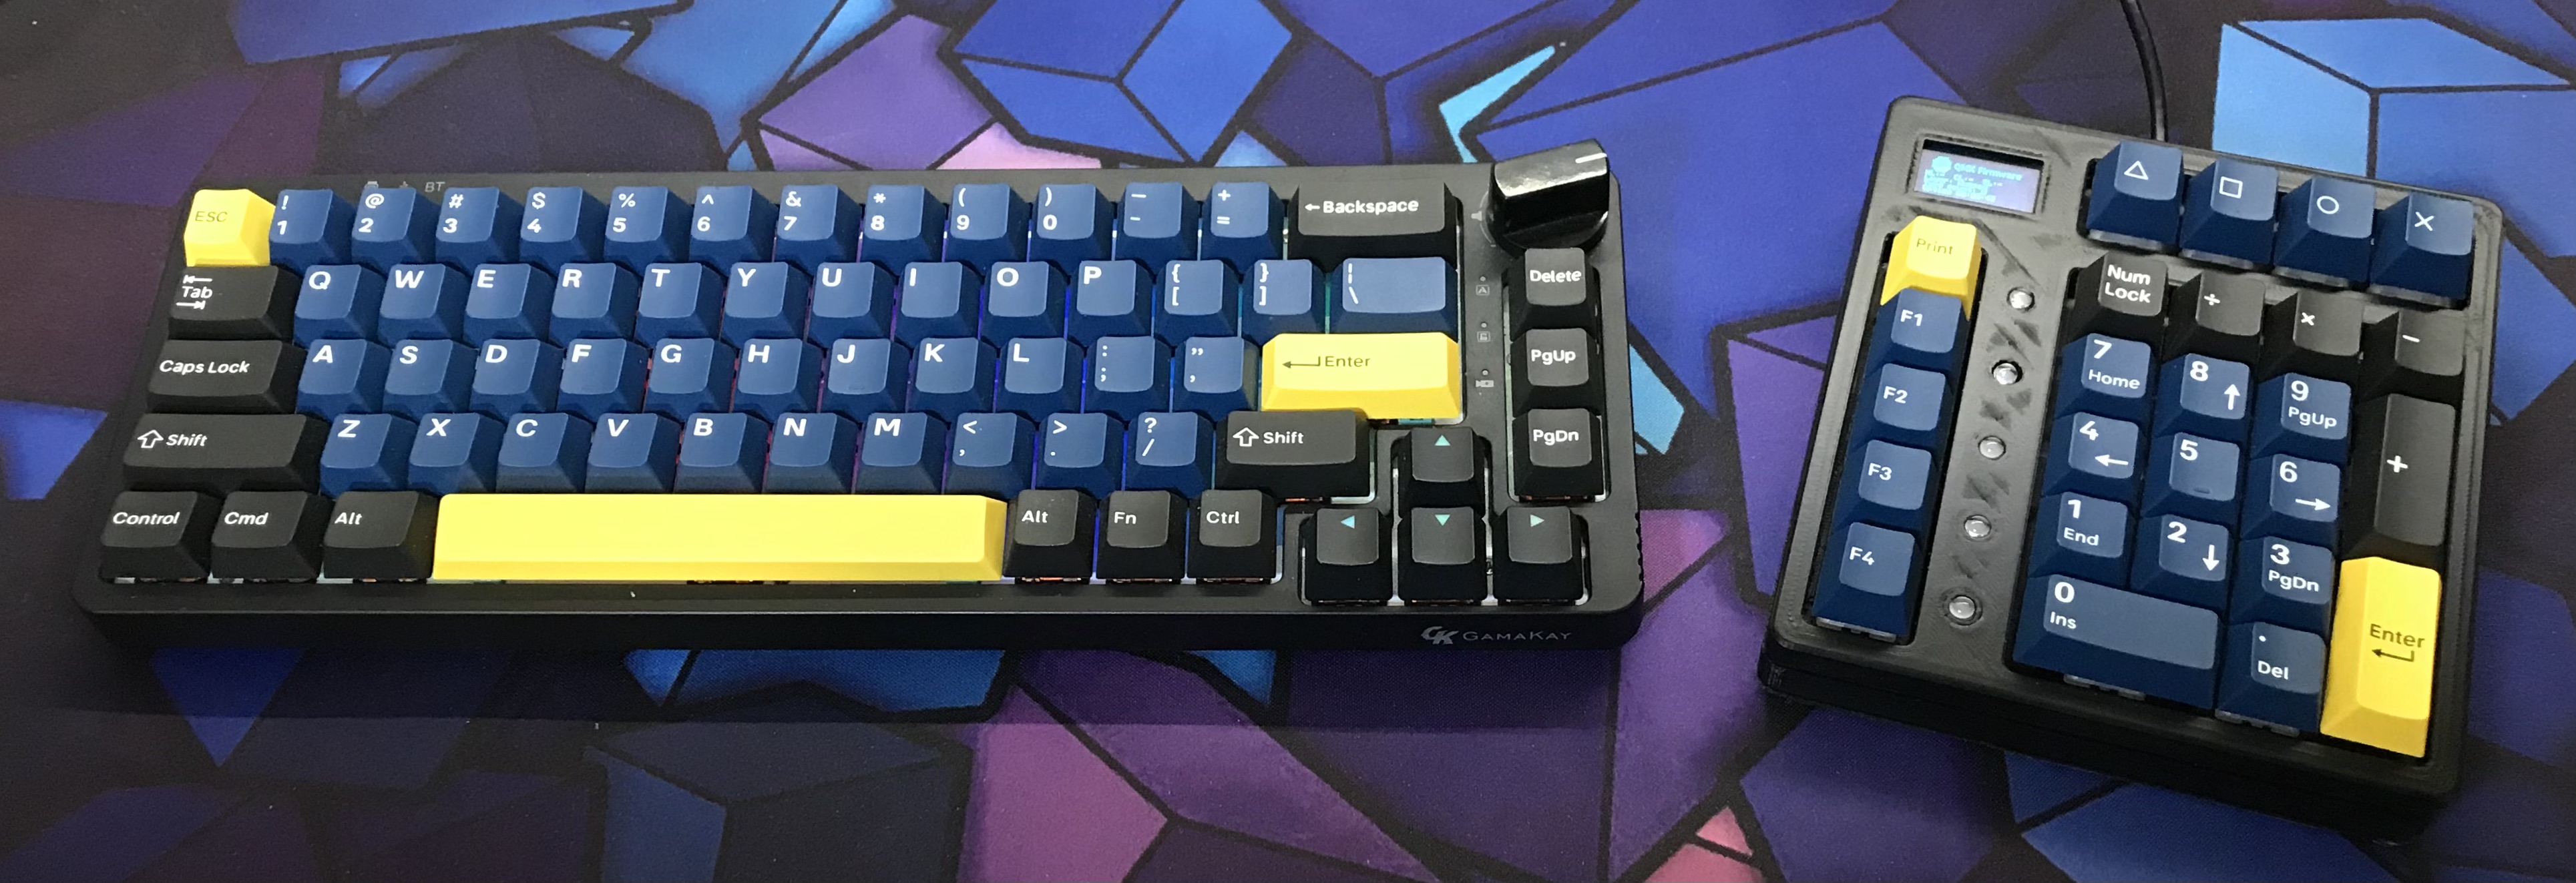
65% keyboard and the macro numpad