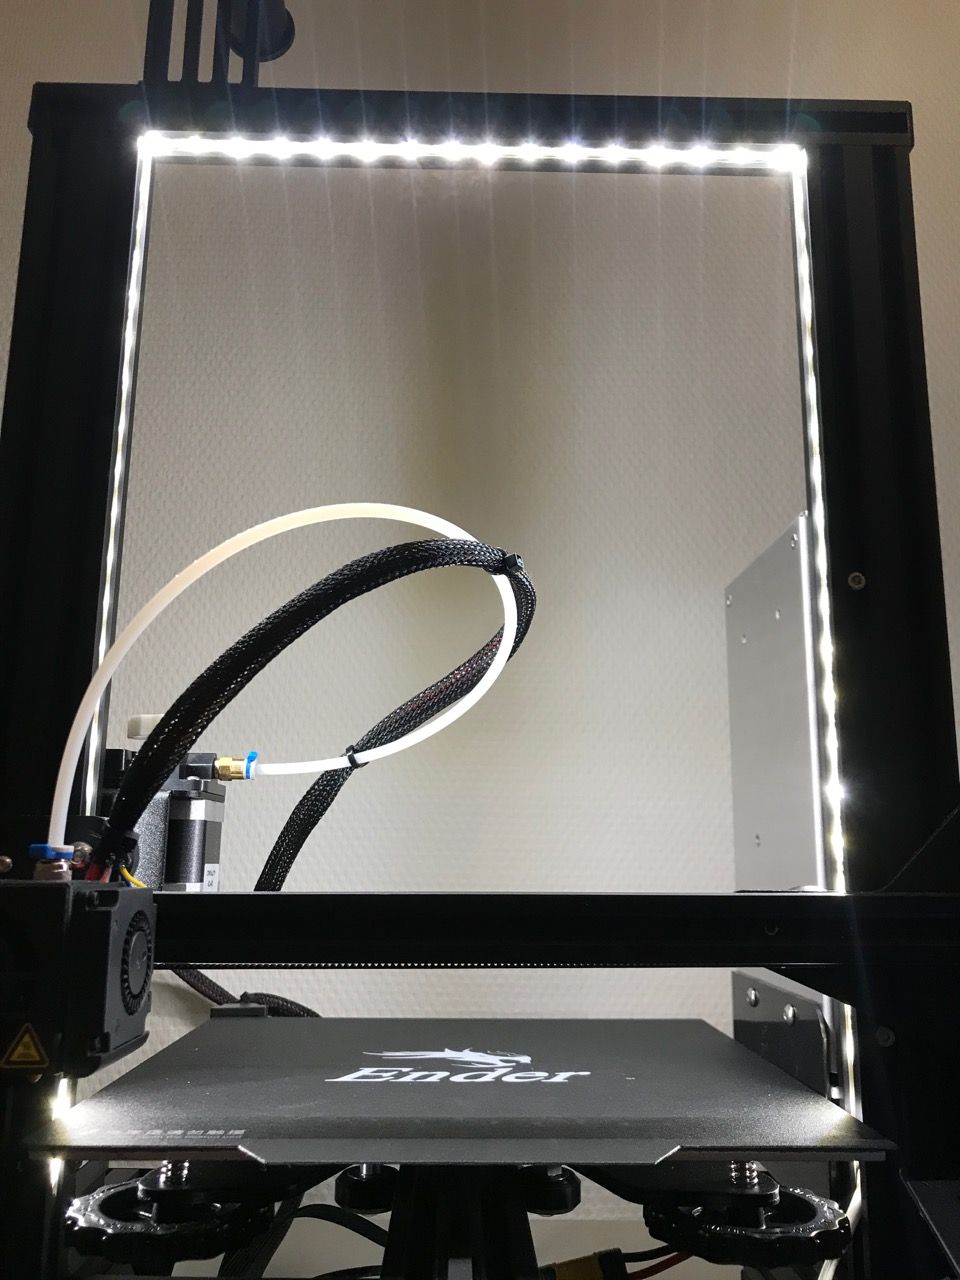
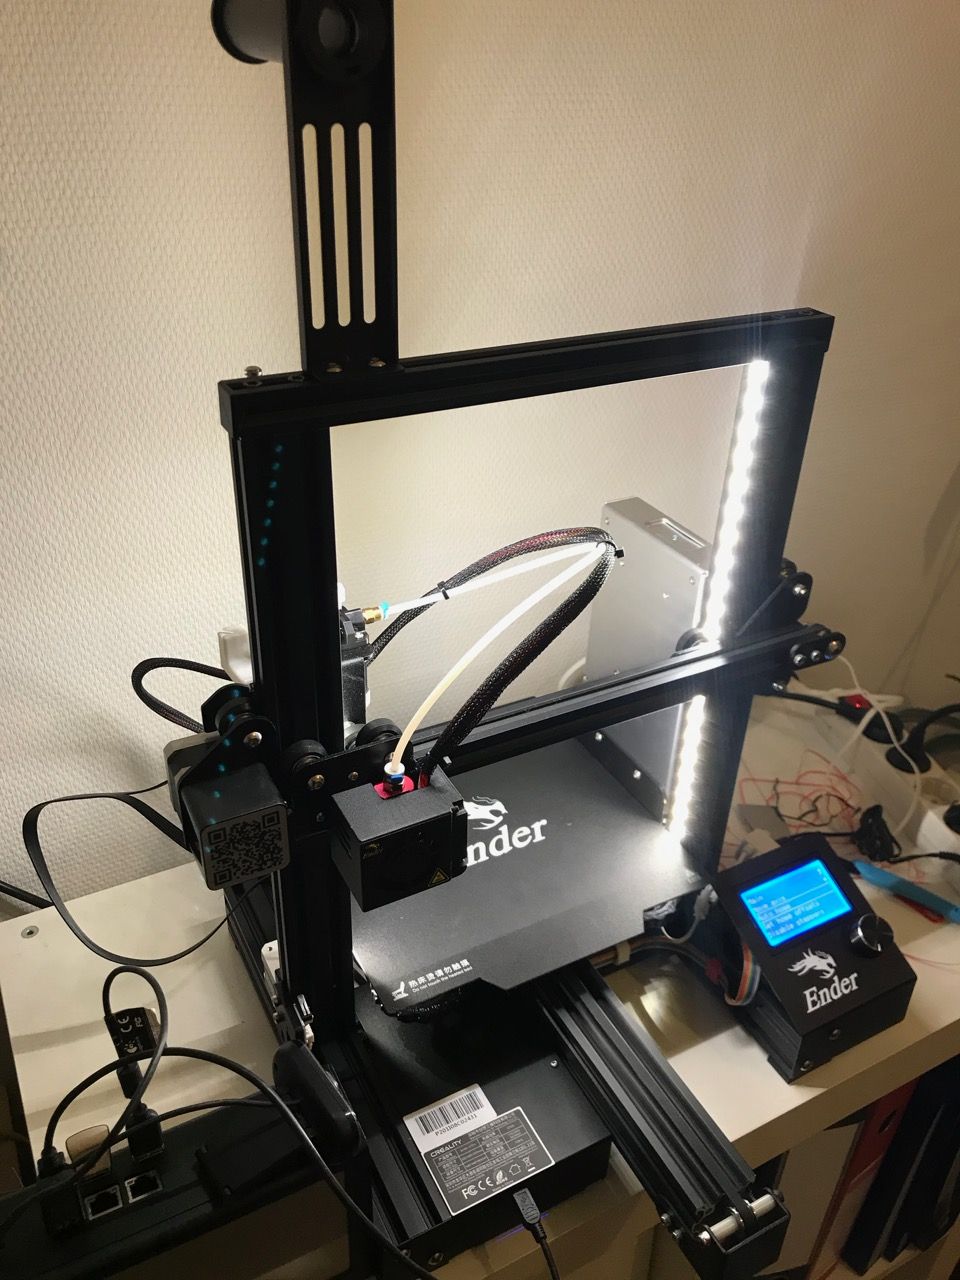
A couple of weeks ago I gave myself a 3d print for a present. 😝 I opted for a Creality Ender 3 pro and order it from Ali Express. With the first print I was amazed how good the quality now is on these budget printers. My last experience with 3d printing was about 10 years ago and the quality was quite different then on budget printers. So I am quite happy with this printer.
The first things I printed was off course some mods and upgrades for the printer. Created LED lighting strips, remote shutdown, webcam, added a smoke detector, tested for thermal runaway protection and added Octoprint.
After some modding, I wanted todo a real first project. I am stil in need for some lights in my house after I moved in last year, now I just got some bulbs hanging from the ceiling. So why not design my own light and 3d print it. So I created the following design in Thinkercad.
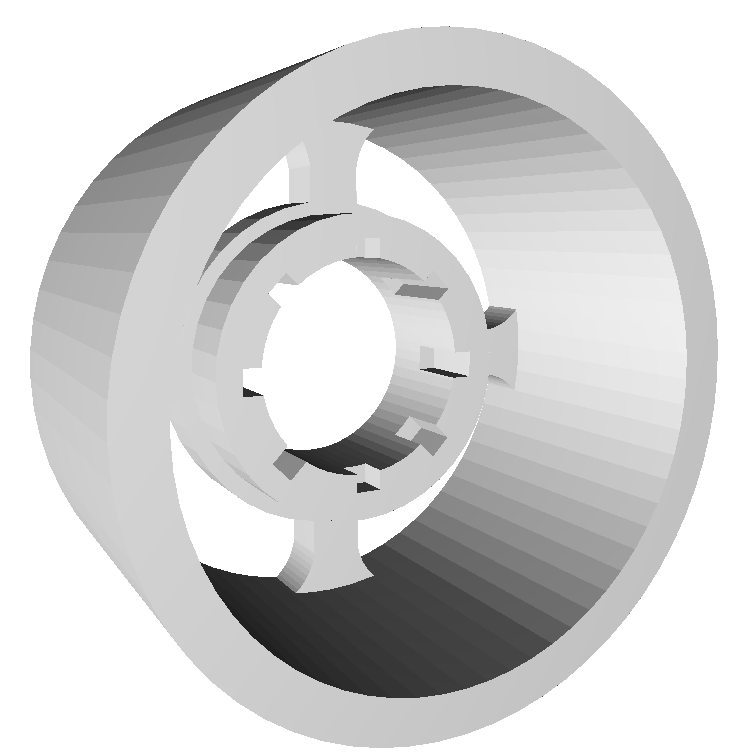
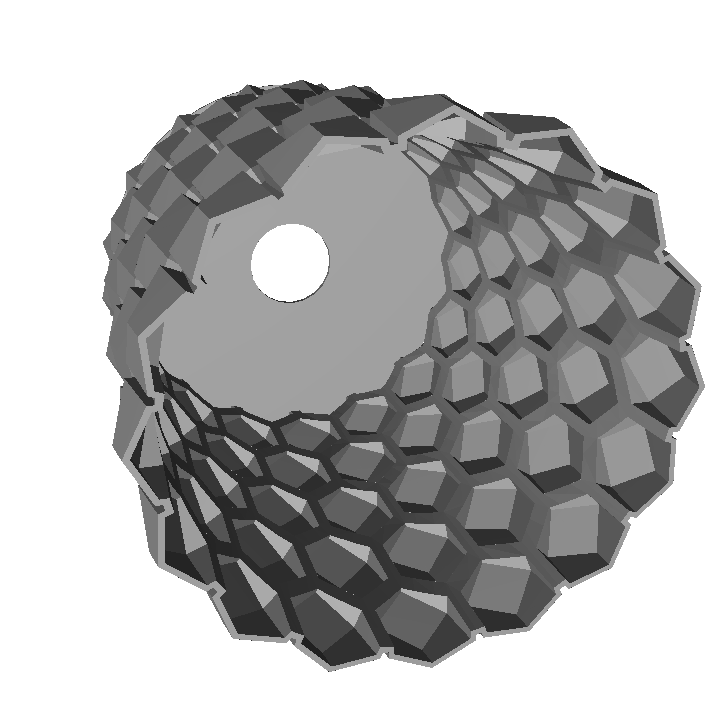
I created a lampshade and a mounting base. Later on I didn’t use the mounting base at all.
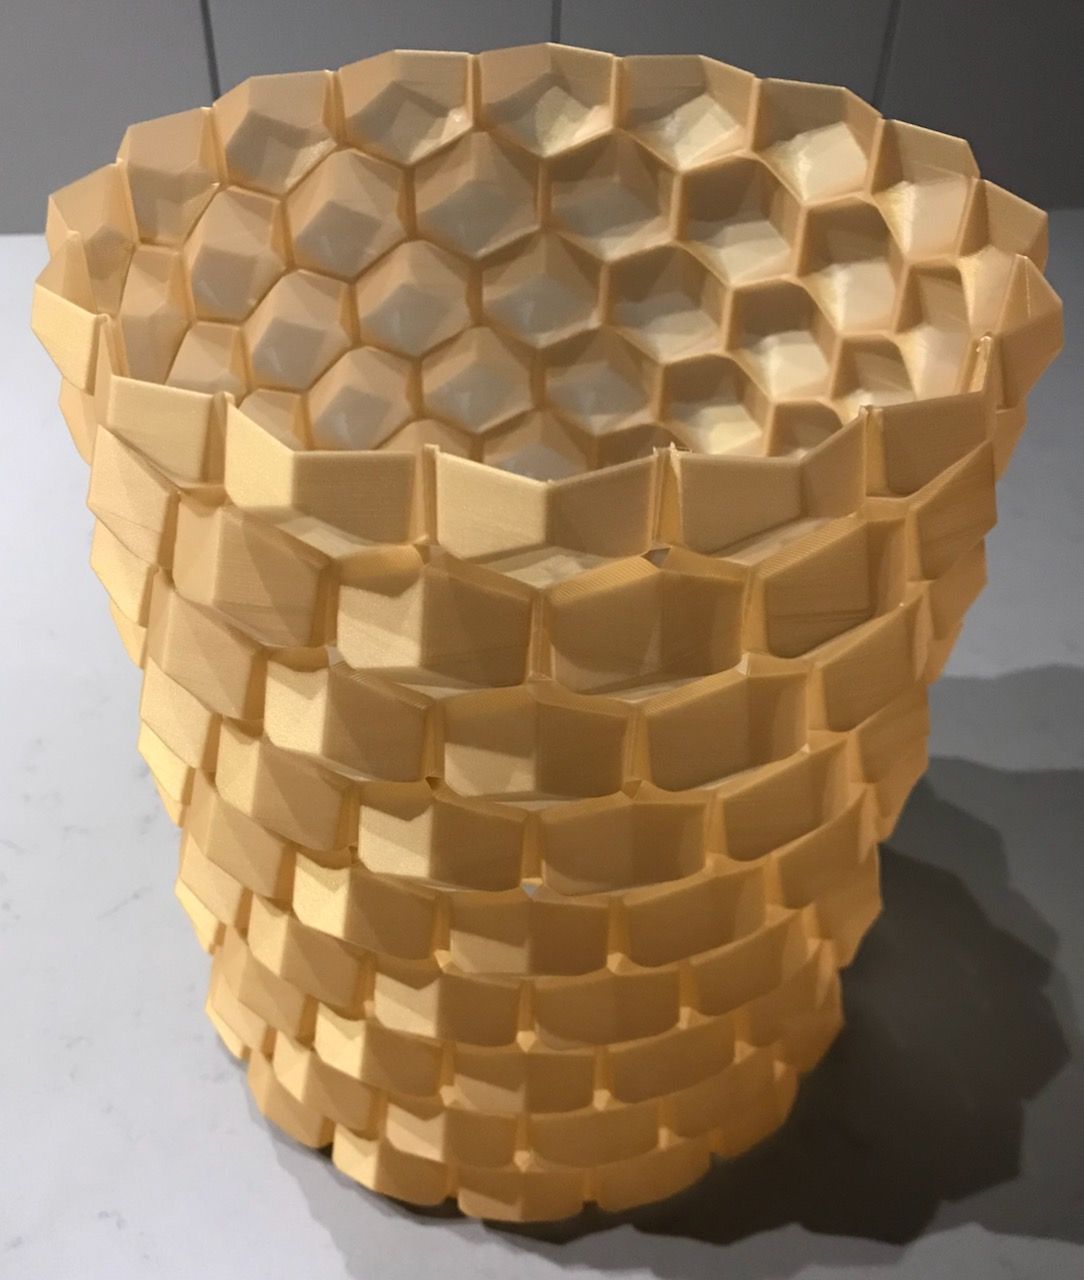
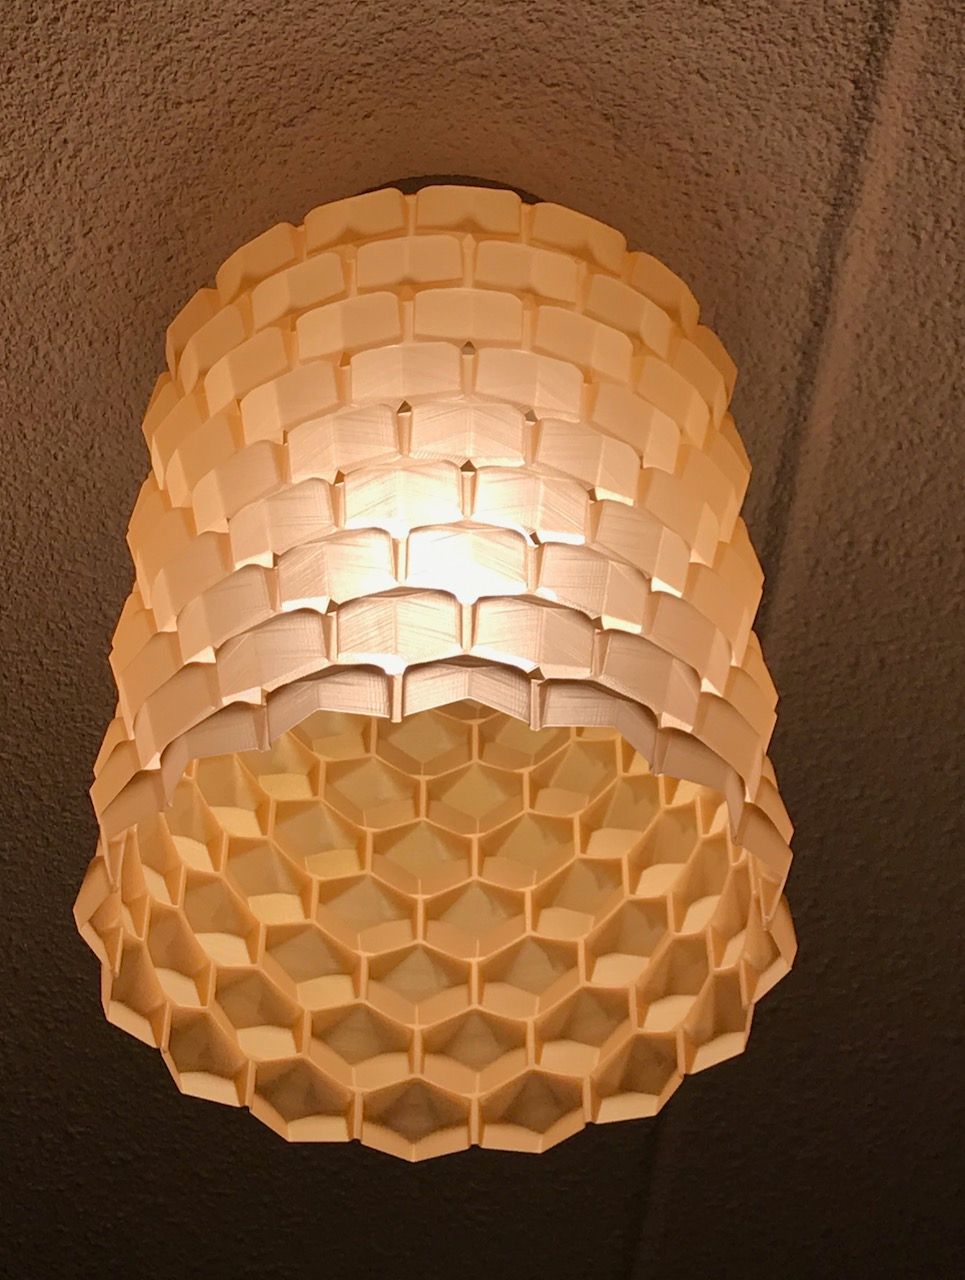
I printed the lampshade in vase mode on 0.28mm. Not only prints is much faster in vase mode (6 hours). But the wall is also 1 layer thick, this will add more transparency and that’s what I want in a lampshade. I used gold PLA for this.
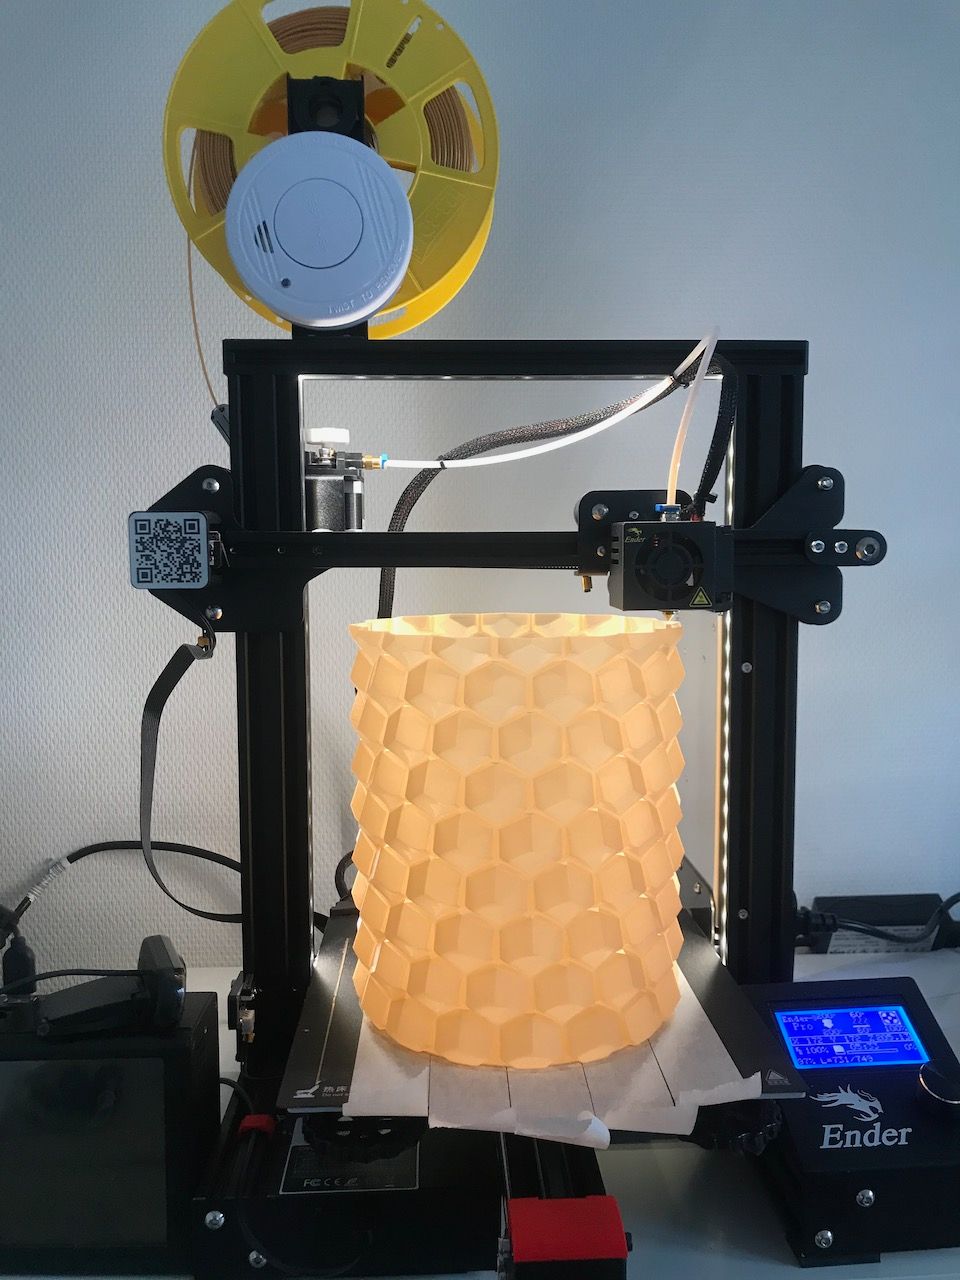
lampshade printing on a ender 3 pro
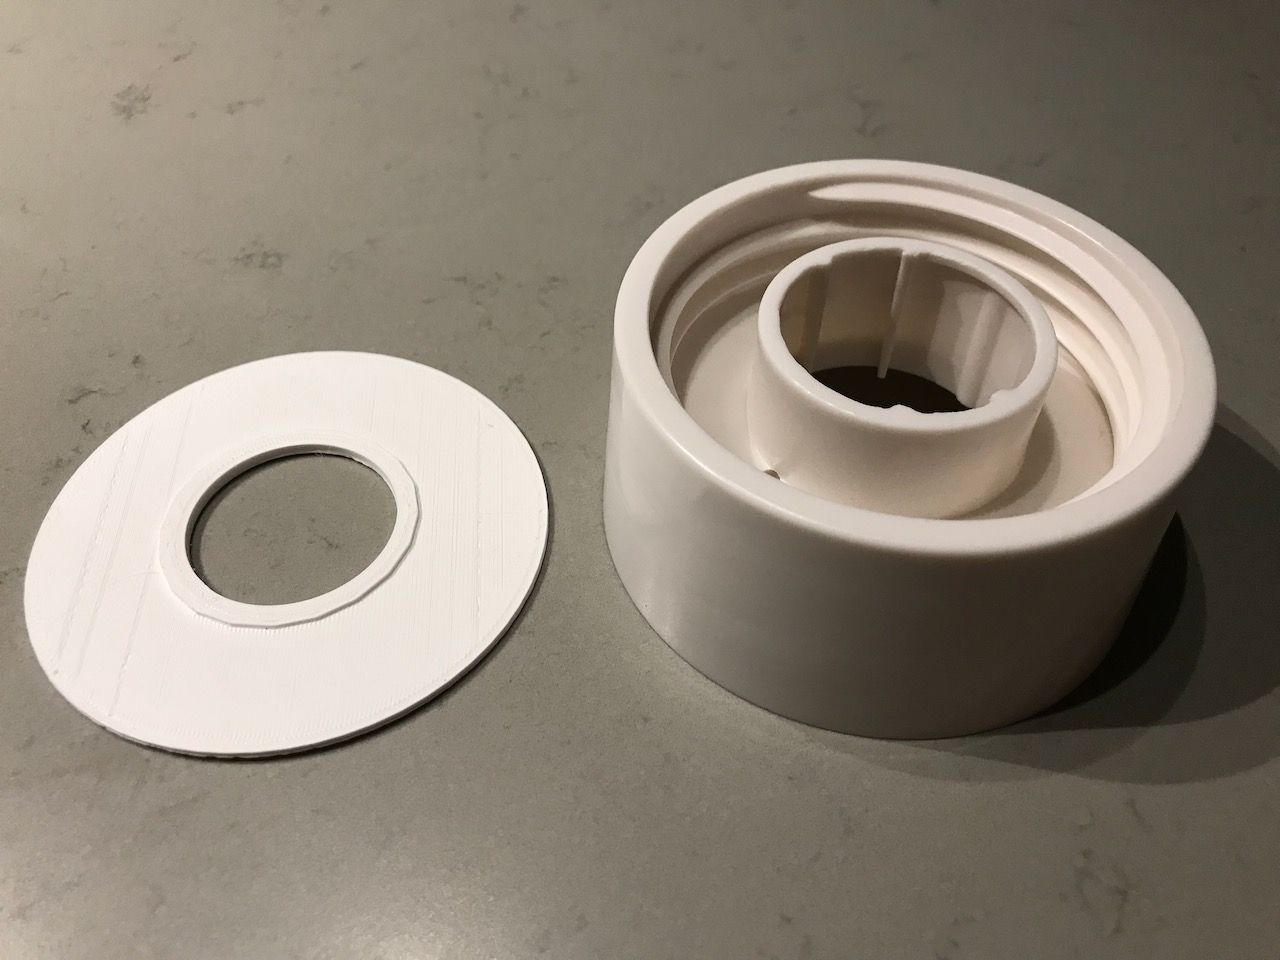
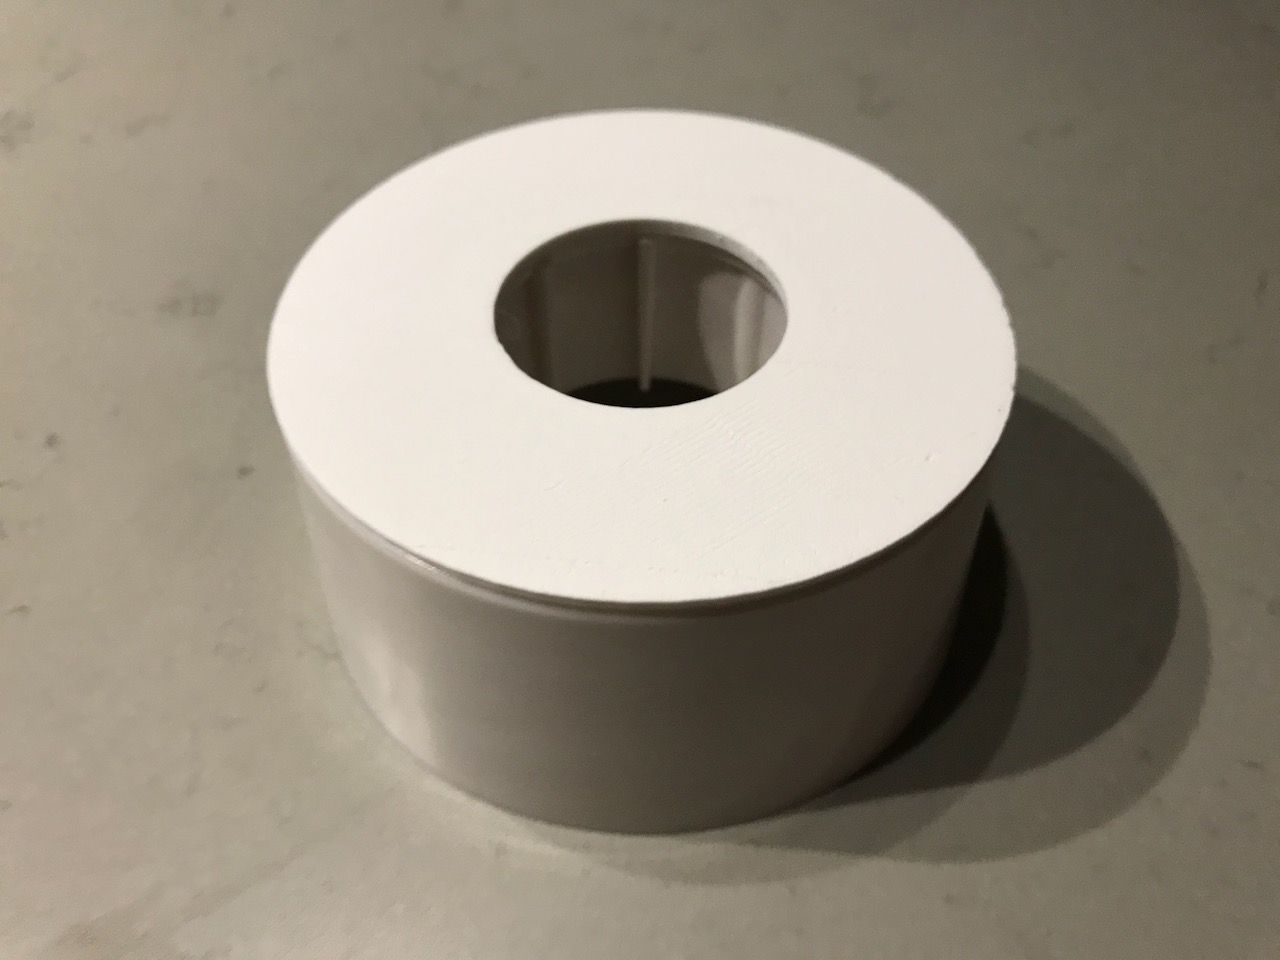
To mount it to the ceiling I created first a mounting base. But I find out I didn’t need it. So I save 8 hours of printing. At the local hardware store Gamma I bought a mounting base with a fitting. In first place just for the fitting. Because his fitting can be use with a hook to hang it from the ceiling. Very common in the Netherlands. But I don’t want the waste the base, this can be used for the lampshade. This base is original used for a glass cover. There was a small 1.2 mm offset between the center ring and outside ring. And the bottom of the lampshade is pretty thing and thus fragile, if we mount in without the space it would maybe buckle when tightening the nut. So I created a small spacer for this to go between the lampshade and the base for better support for the lampshade.
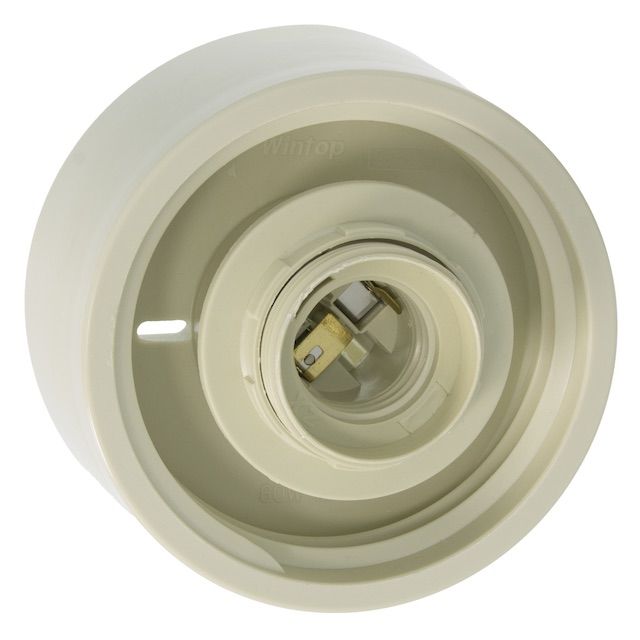
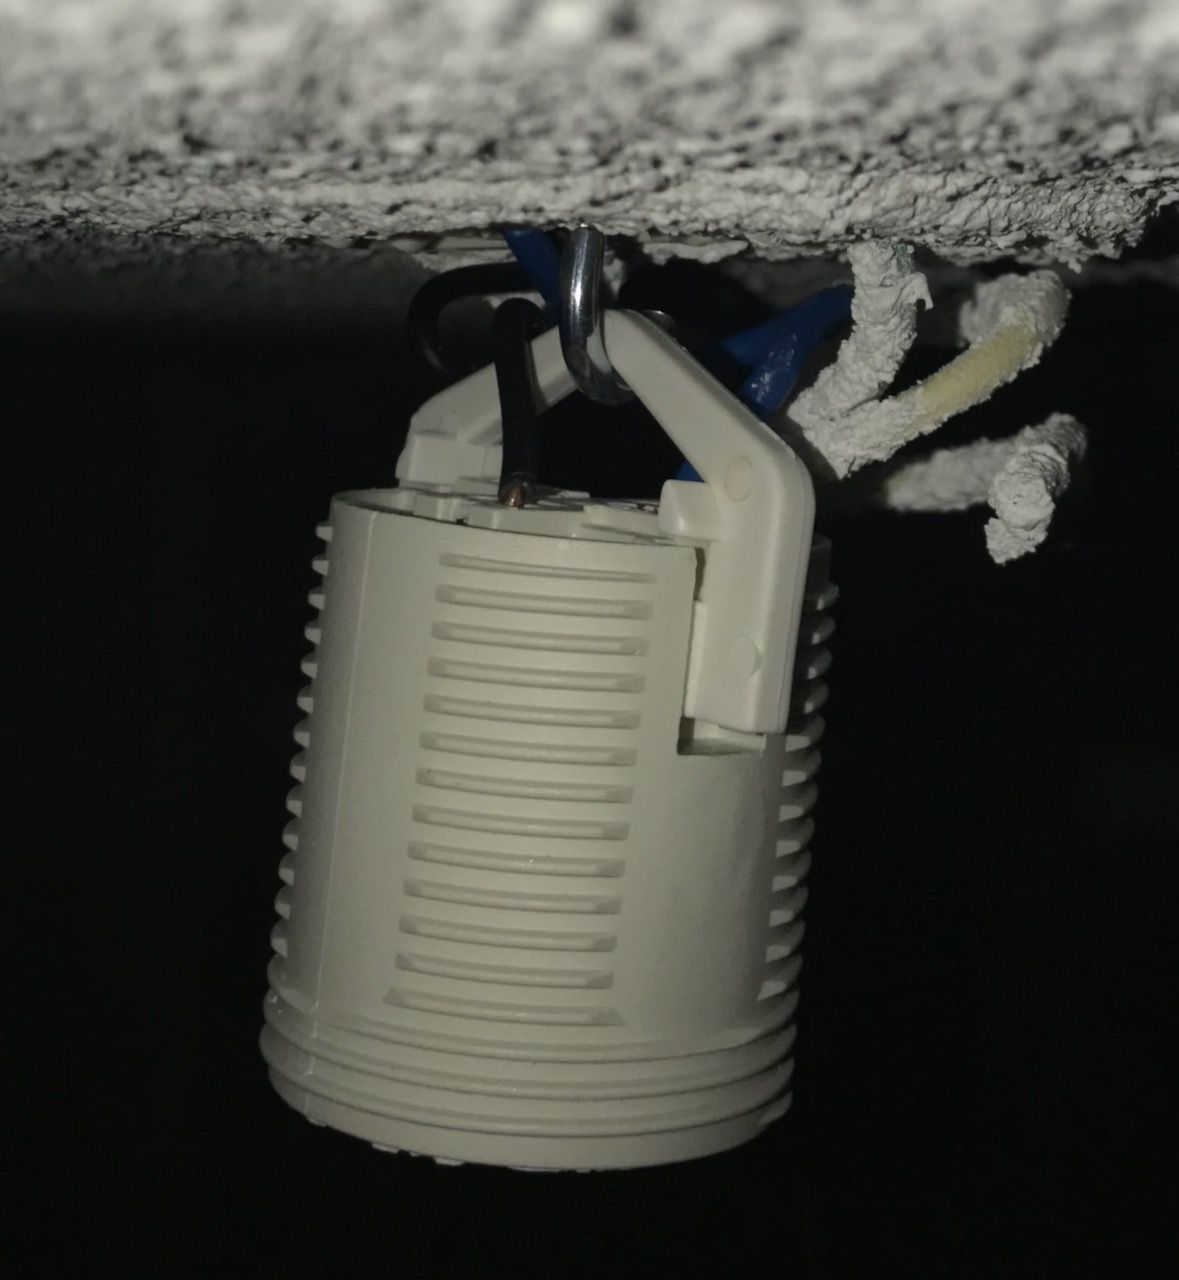
Assembly is pretty easy. Just wire up the fitting first and put it on the hook. After that slide the mounting base, spacer and the lampshade over the fitting and use the nut from the fitting to screw it together.
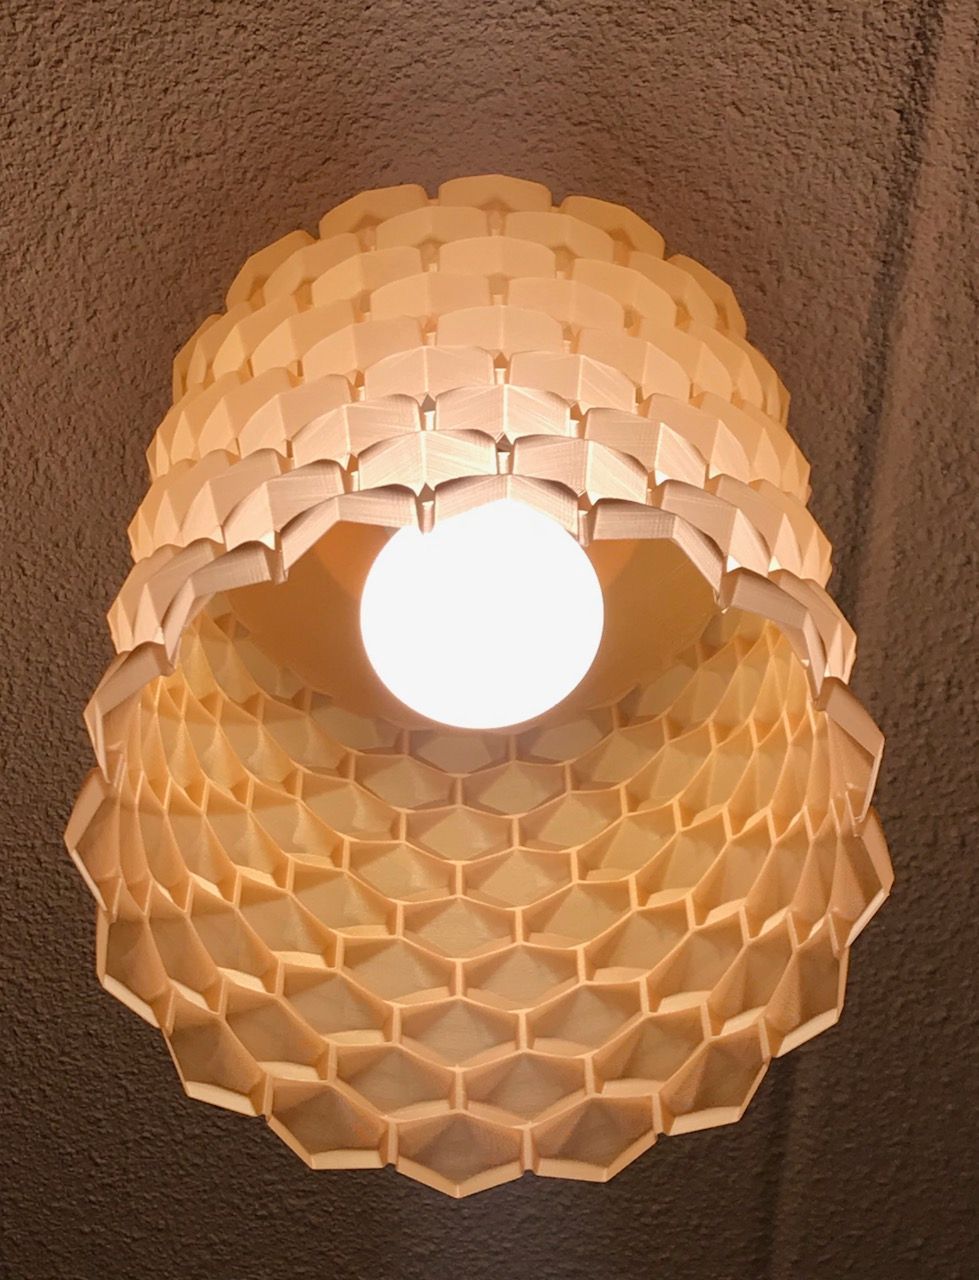
I must say I pretty impressed with the total result for my first 3d project and this keeps me motivated.
If you like this, the STL files are on my thingiverse.
 Thingiverse